As Stadia picks up speed, more and more people will be signing up Google’s premier cloud gaming service. After a dicey launch in November of 2019, more and more AAA games are continually being added to Stadia’s library. If you are interested in Stadia and are wondering how to sign up and get playing, we are going to go over just how easy it is to get started with Google Stadia on the PC.
No Application Needed
One thing that is great with Stadia right off the bat is the fact that it doesn’t need an application to run it on PC. Stadia games are ran from the browser so all we need to do is sign up for the service, login, and start playing from a web browser. I recommend Google Chrome to get ultimate compatibility within the service since both are owned by Google.
Once in the browser, search for “stadia” or go to “stadia.google.com” to get to the Stadia home page. Once there, click the “Try Now” button to start the sign up process. From here, it will want you to sign in with a Google account. A Google account is required to get started with Stadia as with most other Google based software products. Either create one or sign in with your existing Google Account to continue.
Stadia Setup Wizard
After selecting a Google account, the Stadia setup wizard will appear and will go through 7 setup steps to create your Stadia account. Let’s go through them quickly, step by step:
- Email: The step will give you the options to integrate your Stadia Controller and Buddy/Pro pass if you bought one. You can also change your Google Account if you have made a mistake in the one you want to use.
- Terms: This is your standard terms of Service and Legal Policy review page. Feel to read it or fly through it like majority do at hit “Yes, I accept the Stadia Terms of Service” and hit “Next”
- Avatar: Your avatar selection will appear as your profile pic for others to see. Unfortunately, you won’t be able to upload your own. You will have to select one from the list they provide – at least for now.
- Stadia Name: Now it is time to choose a public name for yourself. This will be your name ID for your account for others to see. You only have 15 characters and make sure you don’t use your real name for security reasons. It will confirm your name once you hit “Next”. Confirm it by hitting “Confirm”
- Privacy: Take your time to go through these options to make sure your privacy needs are met. You can always change these later if you want to change them in the settings.
- Updates: Choose whether you want Google to send you marketing and other Stadia related emails.
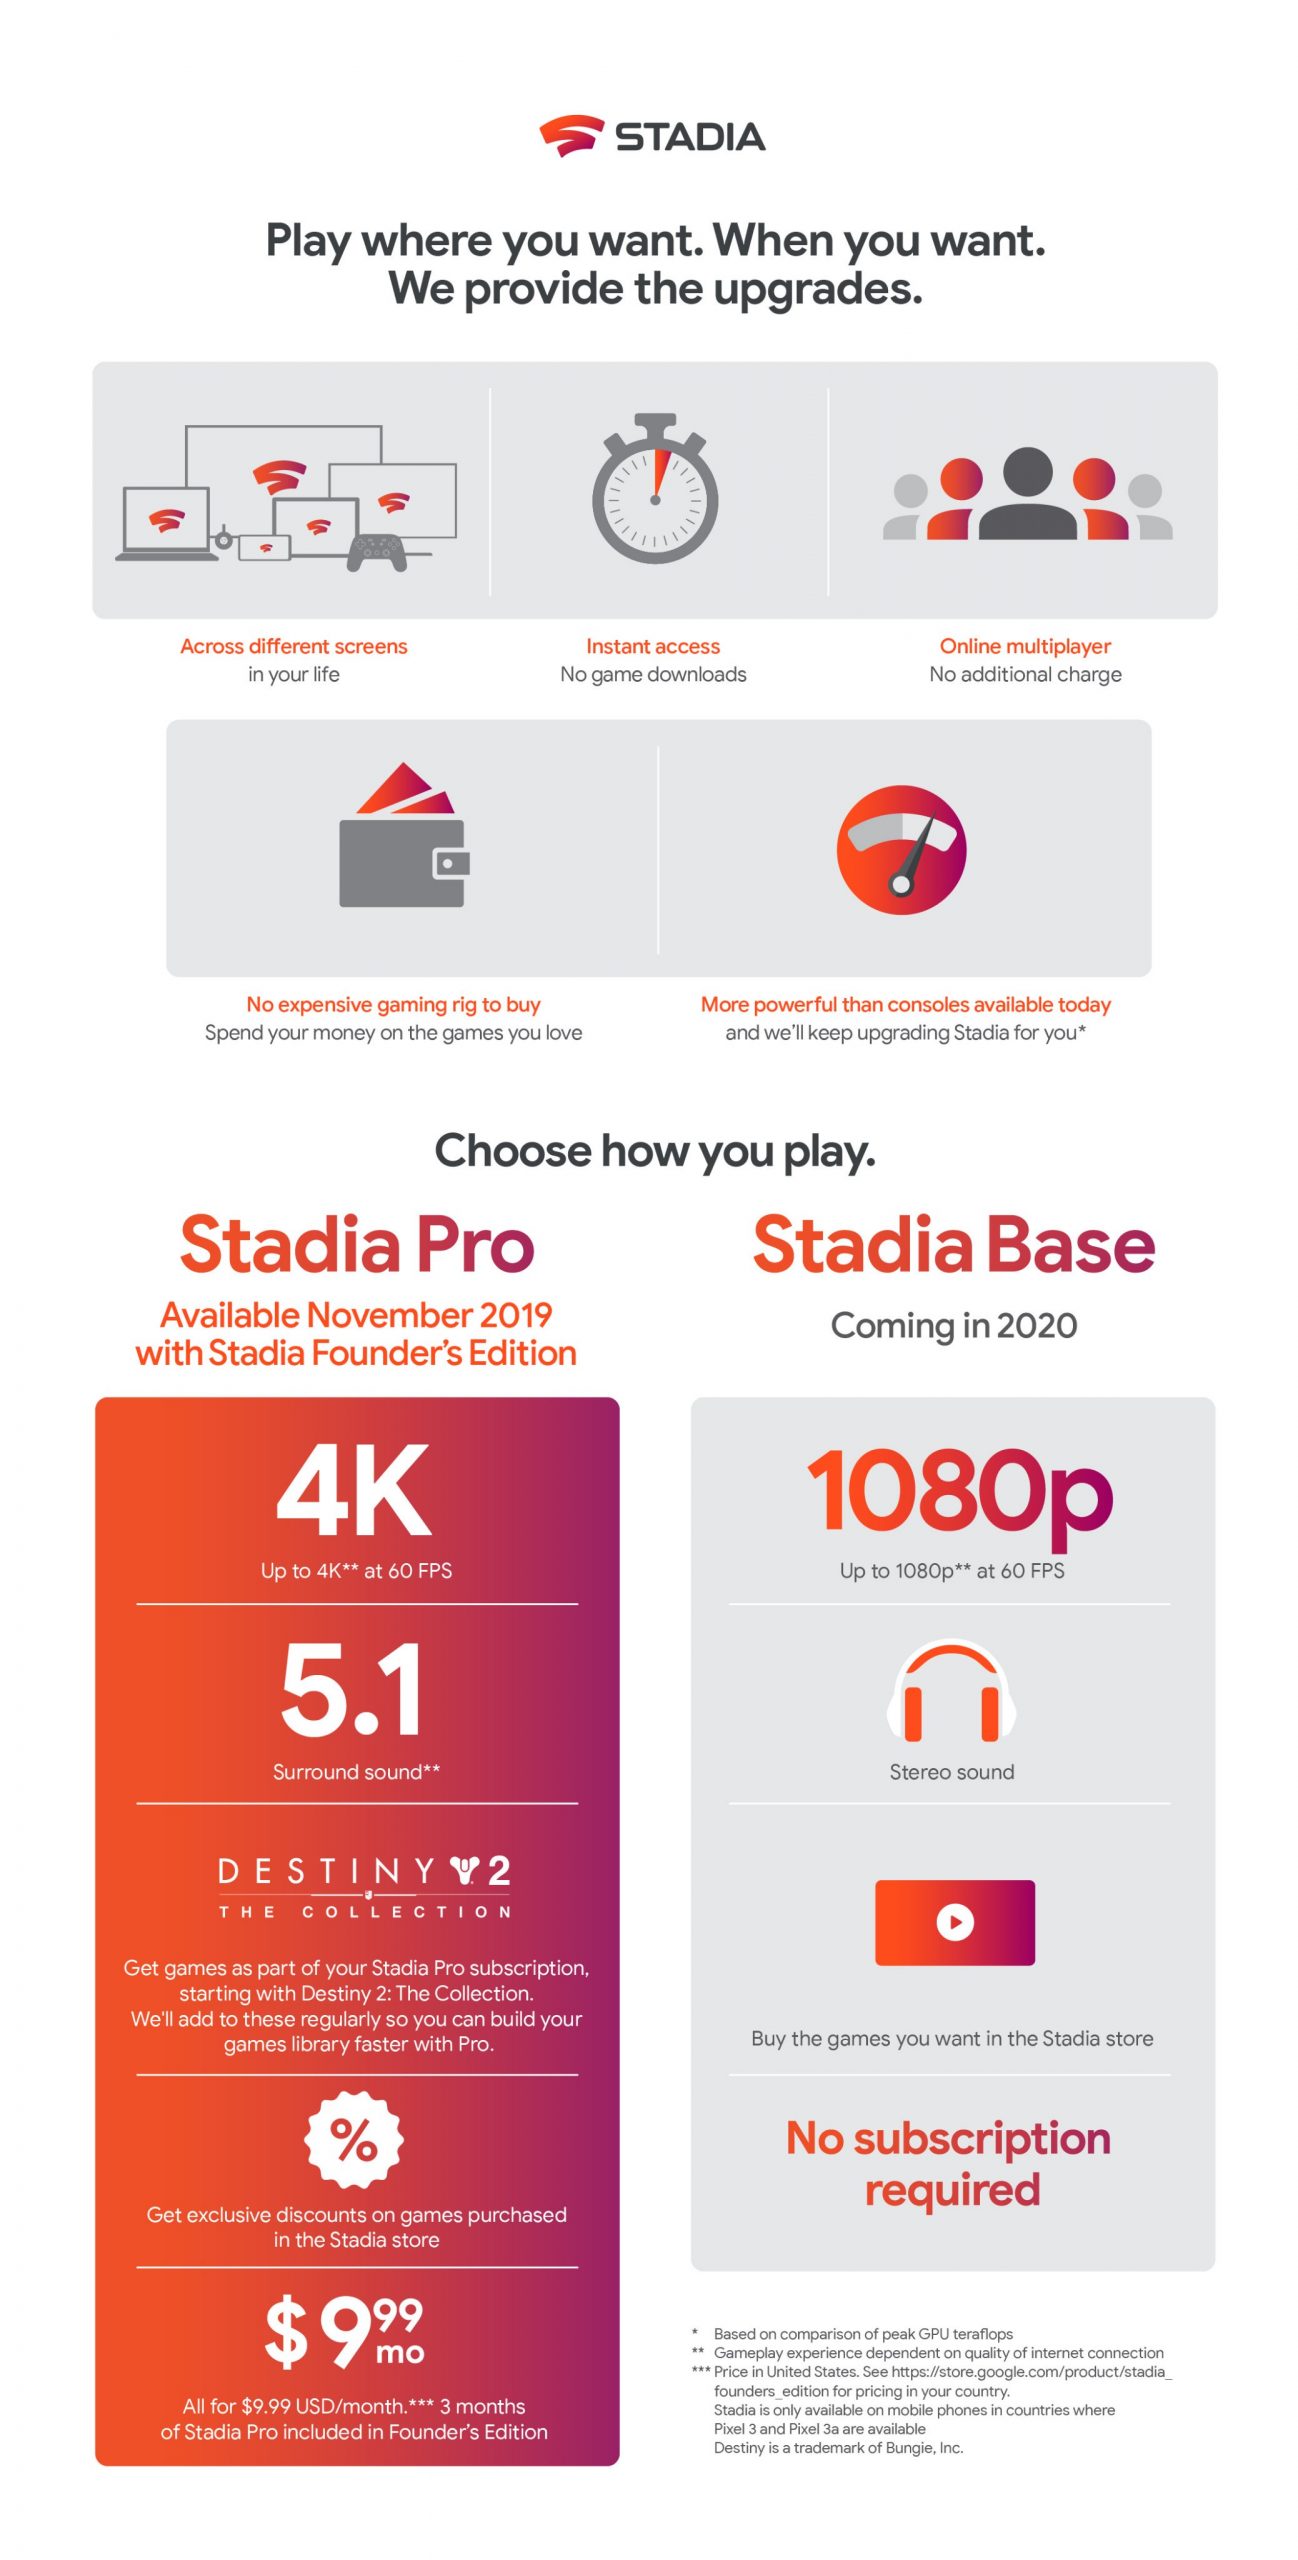
- Pro Trial: Here is where you decide if you want to start Stadia Pro or not. With Stadia pro, you get games at 4K resolution, 5.1 surround sound, The FULL Destiny 2 Collections, a subscription to games that are part of the Pro list, discounts on other Stadia games, all at $9.99 a month. They do want your credit card info to start the trial though. You can cancel at anytime within the app. If you hit “No Thanks”, you’ll get the free version. This means you’ll play games at 1080p resolution and you’ll have to buy the games you want within Stadia except for the free games.
After you complete the Pro trial signup or signup for the Free version, you will be good to go with Stadia. You will be redirected to the Stadia App Home page and from here, you’ll be able to get started playing your games.
Make sure to check out the Stadia controller addition icon to add a Stadia controller to your account. The icon next to it is the social icon to add and manage your Stadia friends list. You can add users as friends and have them join your party from here. The last one is your account info and settings icon. Click on this to manage the app settings and change your account information including the Pro subscription status. You can cancel that from here.

The Stadia Games
Now to check out the games. Click on the “Store” button on the top left of the screen to see what games are available for you. You will notice that Some games you will have to buy and some games are already available for Pro accounts, and some games are available free to everyone.
Let’s try out a game. We are going to load Destiny 2: The Collection. The full game with all DLC is included as part of the Stadia Pro package. Click on the game and hit “Claim” at the bottom to add it to your game collection. Hit “Play” to start playing the game. Note how fast the game loads. No downloading, no installing, no huge game wait time. It gets you into the game immediately. Remember to hook up a controller of your choice and a mic to talk to other in the game.
Overview
Overall, The setup on Stadia is really easy. Loading up your games is simple as well. I think the biggest problem with Stadia right now is the fact that it an exclusive cloud gaming service. This means every game you purchase in Stadia can only be played in Stadia. You can’t play it under any other gaming platform or service. If you plan to only use Stadia for your gaming needs, sign up with Pro and build your library. If not, make sure you think twice before making your purchases. I would hate to have to buy your games multiple times to play on multiple platforms.
For the latest news, gameplay, and comparisons on Cloud gaming, subscribe and stay tuned here at the only place where you can do battle in gaming heaven – Cloud Gaming Battle.